Table of Contents
Self-Hosted URL Shortener with YOURLS
This tutorial will walk you through how to setup a URL shortener using YOURLS. Because it is a PHP-based app, you will need three things:
- Web server to handle the HTTP requests
- PHP interpreter to handle the application code
- Database to store data
To handle these three requirements, we'll be using Apache as the web server, mod-php to handle the app code, and MariaDB for the database. Note that these commands are intended for a Debian system, but will also work on other OSes like Ubuntu, Red Hat/AlmaLinux, OpenSUSE, FreeBSD, and others - you'll just need to change some package names and/or file paths to match your OS.
Note: All of the commands shown below should be run as root, or prefixed with `sudo` to get root privileges. Some CAN be run without root, but for ease of use this guide will be assuming you're running as root.
Step 1: Download and "Install" YOURLS
The first thing you need to do to install any software is download it. Head on over to the YOURLS GitHub releases page and download the source code ZIP file for the latest release (for reference at the time of this writing it's 1.9.1). For ease of use, you can use this command to download that ZIP file to your current directory:
wget https://github.com/YOURLS/YOURLS/archive/refs/tags/1.9.1.zip
Now we need to extract the ZIP file and put it in place so that Apache can read it. I tend to follow the Linux FSH guidelines, so let's create a directory under `/srv/` for websites, and then move into it.
mkdir /srv/www; cd /srv/www
Then extract that YOURLS ZIP file that you downloaded a moment ago:
unzip ~/1.9.1.zip
Note: if the above command fails, try installing the unzip command with apt install -y unzip, then try the unzip command again.
If all goes well, you should now have a directory located at `/srv/www/YOURLS-1.9.1` that has the YOURLS source code and assets in it. The next thing we need to do is to configure YOURLS with your info. `cd YOURLS-1.9.1` to dive into the source directory, and then we need to copy the sample configuration file into the proper place:
cp user/config-sample.php user/config.php
And then open that new file up in your favorite text-editor, for example with VIM:
vim user/config.php
You'll be presented with a bunch of configuration options (using PHP code syntax) that you can modify to your heart's content, but there are a few main options that I want to point out that you'll want to change. We'll also touch on the database configuration later on when we're setting up MariaDB.
YOURLS_SITE - This is the web address of your site. You'll want to set this to how you want people to be accessing your site. For example, the Bit Goblin shortener's address is u.bitgoblin.tech, so this value is set to https://u.bitgoblin.tech.
YOURLS_UNIQUE_URLS - This determines whether you allow multiple short links to the same original site address. The intended use of your URL shortener will likely determine whether you want this to be true or false, e.g. if you want people to enter their own links to shorten, regardless of whether it's already present.
YOURLS_PRIVATE - You'll likely want to keep this set to true, but this setting determines whether or not you want the admin interface to be locked behind user credentials. SETTING THIS TO FALSE IS NOT RECOMMENDED FOR A PUBLIC SITE!
YOURLS_COOKIEKEY - This value is used in encrypting browser cookies. This doesn't need to remembered/saved anywhere, just make it long and random. You can head on over to GRC's password generator and grab any sizeable chunk of any three of the randomly generated passwords and paste it in for this value. I'd recommend the middle one with 63 ASCII characters, but this'll be dealer's choice.
$yourls_user_passwords - This is a PHP array/map with at username and password mappings. You'll want to create yourself a user here, so inside the array change the 'username' => 'password' mapping to the credentials you want for your admin user. For example, if you want the username “admin” and password of “supersecretpassword”, it would look like 'admin' => 'supersecretpassword'.
There are some more configuration options to look over if you please, but this is all we need to look at for now. Go ahead and save and close the config file, and get ready to install Apache.
Step 2: Install Apache
The second thing we need to do is to install Apache to handle HTTP requests to this server. Thankfully, installing Apache with a base configuration is really easy on most Linux distributions, and Debian is no different. Simply run the command below to install Apache:
apt install -y apache2
And you can check the status of the service like so:
systemctl status apache2
If all went well, then Apache is installed and running with a default configuration. Simply open up a web browser, and enter "http://" plus your server's IP address, like http://192.168.1.50, and you should be met with a page that looks something like this:
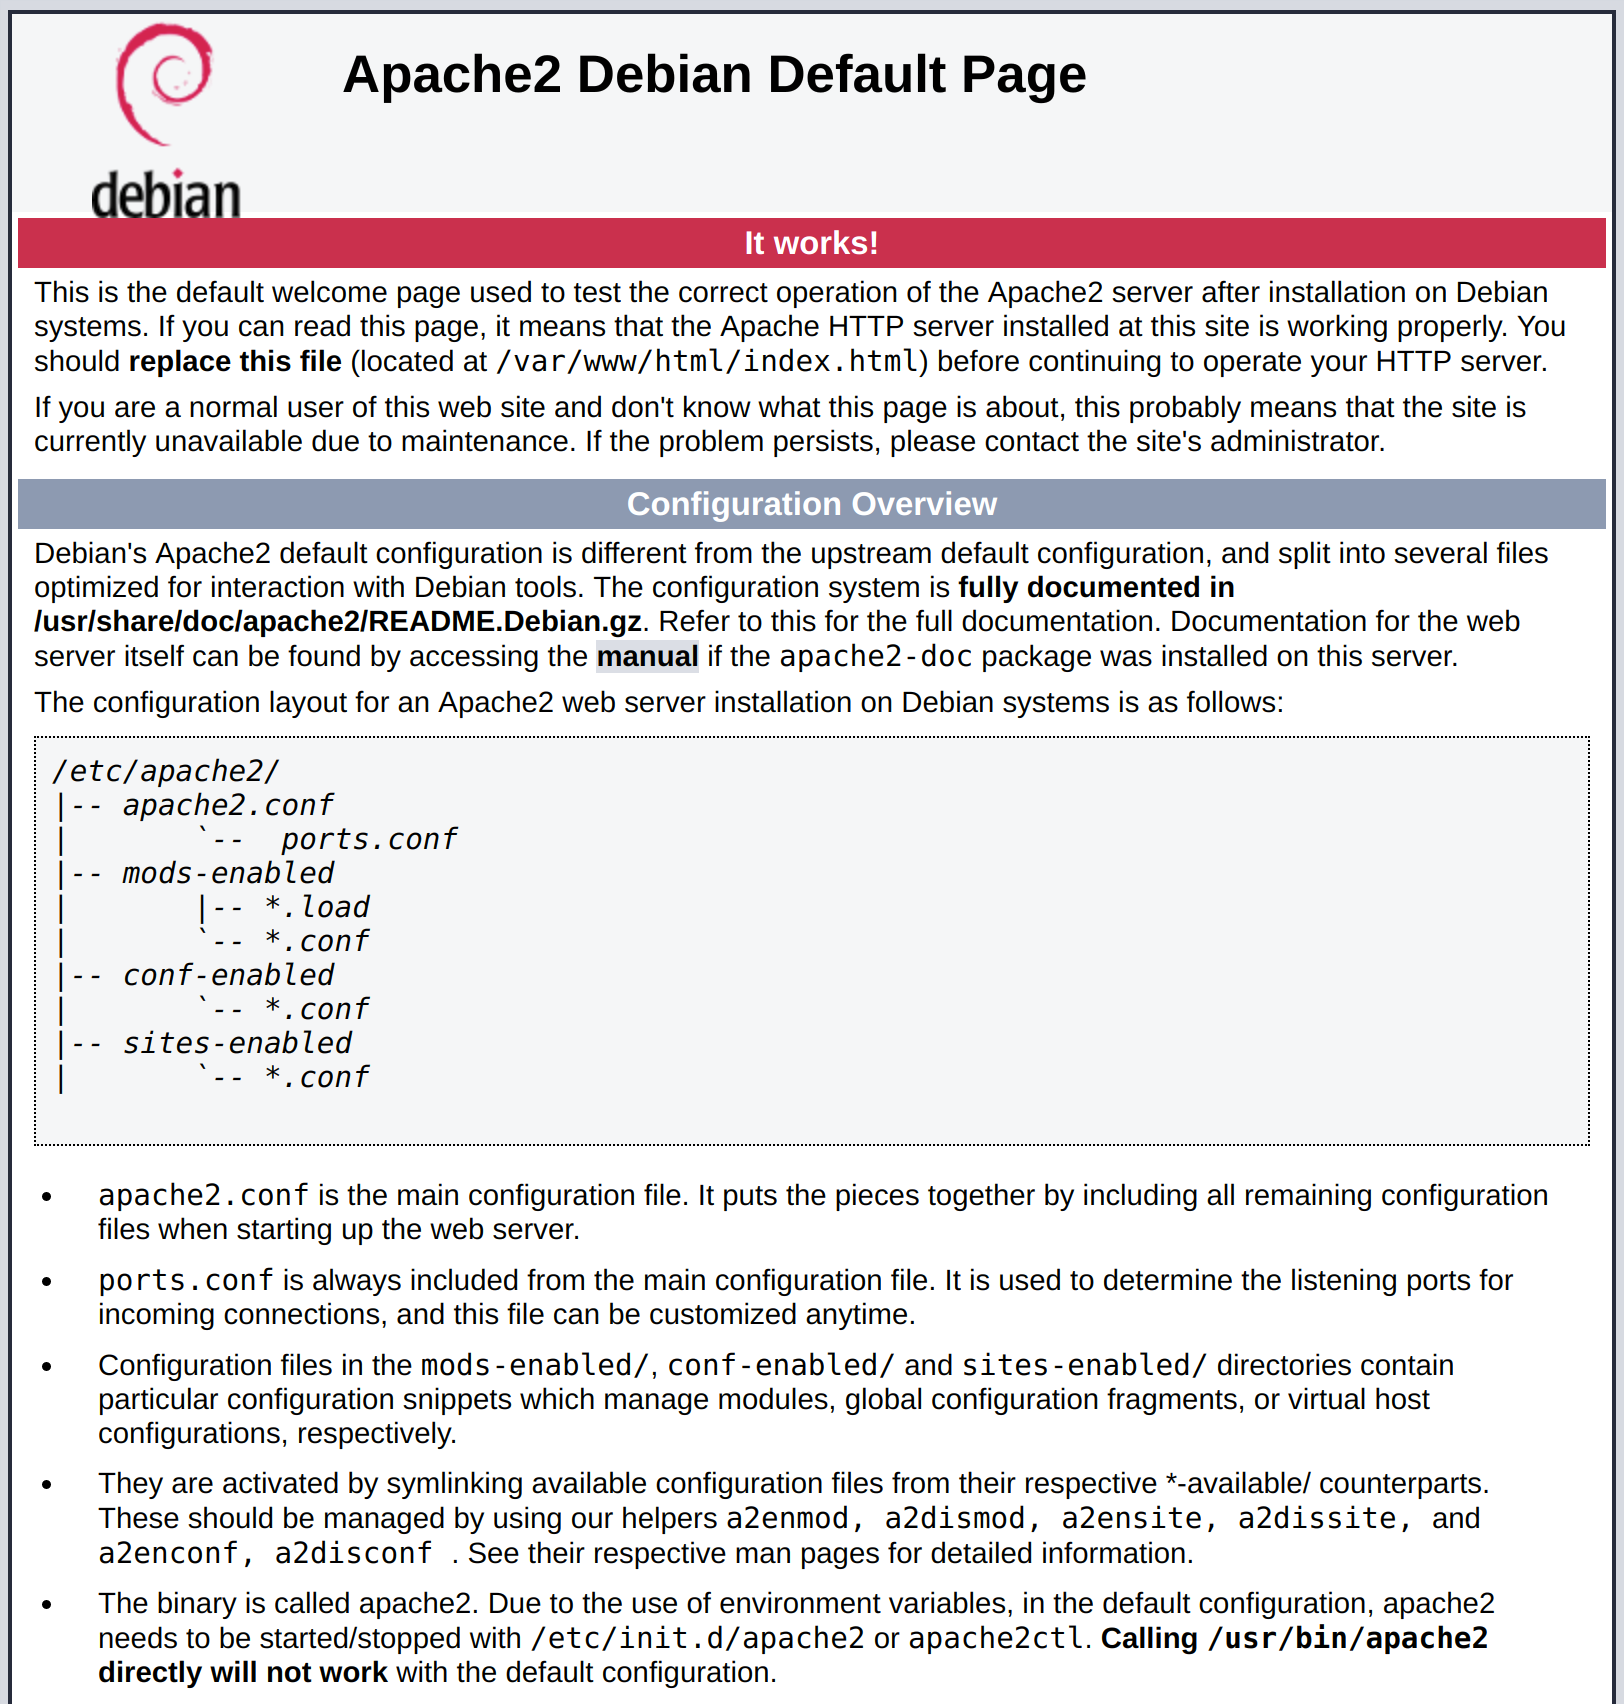
But of course, this isn't YOURLS, and the page we did get is kinda useless! Now we need to configure Apache to use/display your YOURLS site. Open up the Apache default site config:
vim /etc/apache2/sites-available/000-default.conf
In the VirtualHost, there should be a line for DocumentRoot .... Change it to read:
DocumentRoot /srv/www/YOURLS-1.9.1
Then save and close the file. YOURLS also makes use of the Apache rewrite module, so we need to enable it with:
a2enmod rewrite
Then to load the updated configuration, restart the Apache service:
systemctl restart apache2
And if you refresh your web browser, it should now be showing something else…
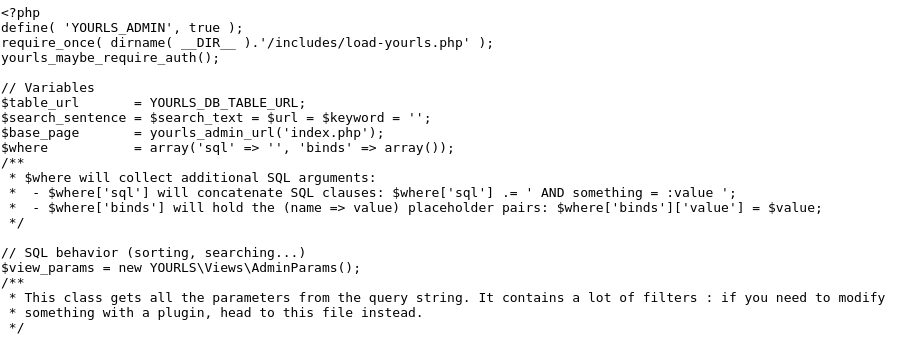
It's just a bunch of code! That's not right… Well, by default Apache has no idea what to do with PHP code, so it's just serving the PHP files as a static plain text file.
Step 3: Install PHP
To get PHP working with Apache, we need to both install PHP and the Apache PHP module to link it all together. To do that, run:
apt install -y php libapache2-mod-php
Then enable the newly installed mod-php for Apache like so:
a2enmod php7.4
Note: it's usually just a2enmod php, but Debian has the PHP module includes labeled per the PHP version, so as to let you include multiple different PHP versions if you choose.
And again, restart Apache to reload the config:
systemctl restart apache2
One last thing before you open up your web browser is you will want to make the www-data user the owner of the website files. This is so it can install the app properly (mainly putting in place the .htaccess file for routing), and encrypting your user password(s).
chown -R www-data /srv/www/YOURLS-1.9.1
Now open up your web browser again and go to the same address as before and prepend “/admin”, e.g. http://192.168.1.50/admin/ and you should be greeted with a YOURLS error page.
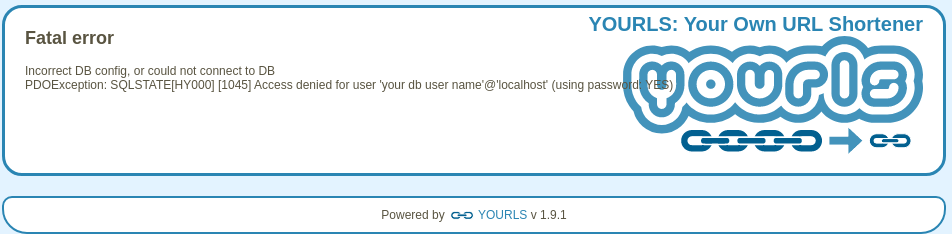
This is normal. YOURLS requires a database to run, and we haven't configured the database yet (remember I said that we'd get to this later?), so let's get to it!
Step 4: Configure a Database with MySQL
Finally, we just need to setup a database so YOURLS has a way to store information. As far as I can tell, YOURLS only supports MySQL/MariaDB for the backend database. Some may hate this, but to me this is perfectly fine. To install MariaDB, run:
apt install -y mariadb-server
And you can check the status of the service with:
systemctl status mariadb
While not strictly required, it's recommended to run the mysql_secure_installation script to tighten up from the default configuration. You can accept all of the default values, except I'd skip setting the root password since by default it uses Unix socket authentication and you need to be the root account to login with it.
Now that MariaDB is ready to roll, let's login and create a database for YOURLS.
mysql -u root
Create a new database:
CREATE DATABASE yourls;
Create a new user for the database:
CREATE USER 'yourls'@'localhost' IDENTIFIED BY 'secretpassword';
Grant all privileges on the YOURLS database to the new user:
GRANT ALL PRIVILEGES ON yourls.* TO 'yourls'@'localhost';
And finally flush the database privileges. This is important so permission changes take effect!
FLUSH PRIVILEGES;
And now exit with exit.
With our database configured, let's head back to that config.php file:
vim /srv/www/YOURLS-1.9.1/user/config.php
And towards the top of the file should be several settings for the database configuration. Change the settings to match the following:
YOURLS_DB_USER => yourls
YOURLS_DB_PASS => secretpassword
YOURLS_DB_NAME => yourls
YOURLS_DB_HOST => localhost
Now save and close the file, then refresh your browser. If all goes well, you should be at the YOURLS login page!

Enter your credentials, then you should be met with the YOURLS admin interface.

At this point, your YOURLS installation is complete, and you can start shortening URLS!
Step 5: Finishing Touches
Now that YOURLS is running, there is one last set of tweaks I'd recommend to make your YOURLS experience better. Head on over to the Plugins page via the “Manage Plugins” link at the top of the page. Then activate the Random ShortURLS and Allow Hyphens in Short URLS plugins - these two plugins do exactly what their names say: generate random URL slugs by default for the shortened URLS (these can be edited), and allow the hyphen character to be used in the URL slugs. Simple enough, and makes the experience slightly more streamlined and allows for more short URL possiblities.
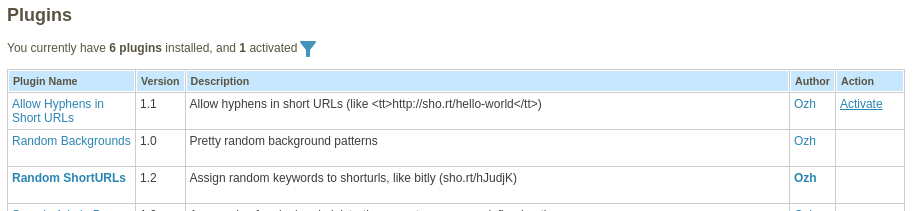
You can also enable the Random Backgrounds plugin for a prettier interface. It's nothing huge, but I kinda like the admin interface a little bit more with the random backgrounds. This one is up to you if you want it.
Have fun!